

- Open Server manager > Click Add roles and features

- Click Next button.
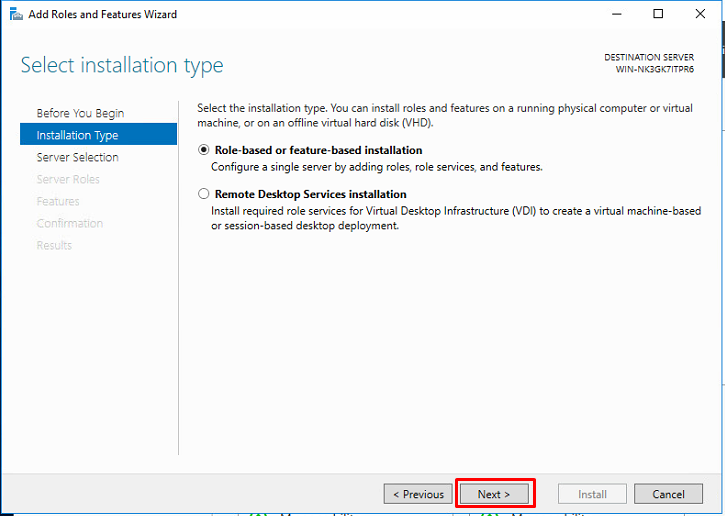
- On radio button choose Role-based or feature-based installations and click Next
- On radio button tick Select a server from the server pool and click Next

- Now you need to choose role Active Directory Domain Services and Next.

- The wizard will show the roles summary that you added. Now click Add Features.

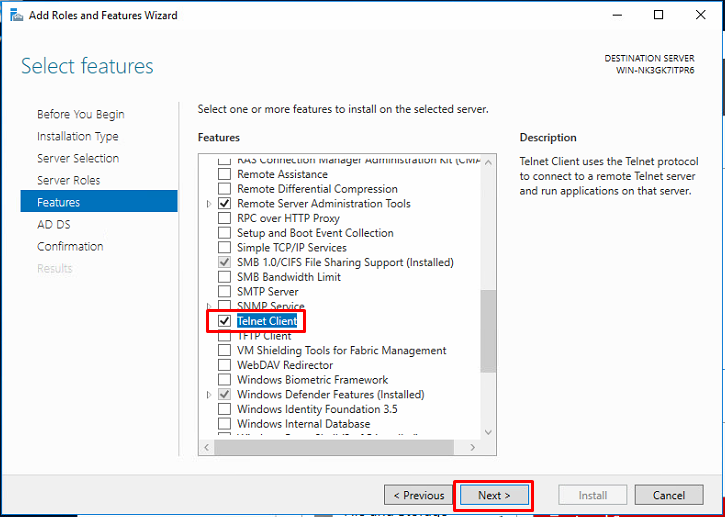
- On this add-on features, by default you can proceed to click Next, but in my case, I wanted to add-ton the Telnet Client. Once choose the add-on, click Next
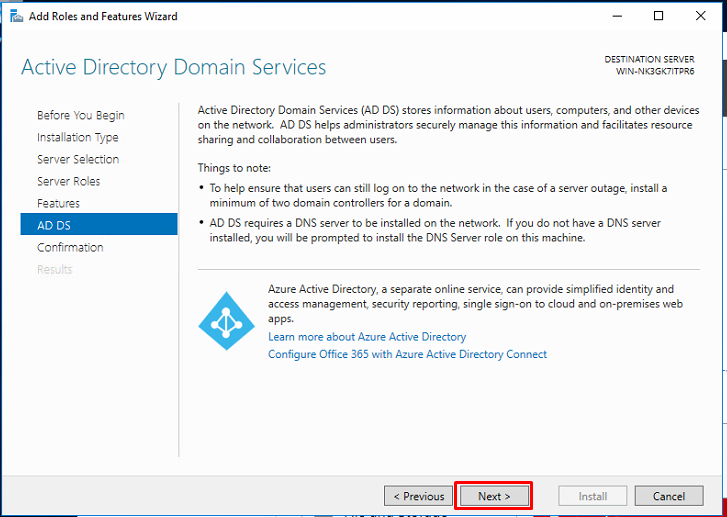
- This section, you are able to connect Azure Active Directory. for now , skip this and click Next
- Ignore check button and Click Install to confirm the Installation. This part will take several minute to completed.

- Once Installation is done, Click text Promote this server to a domain controller .

- Click Add a new forest . On root domain name, you can key-in for your own domain controller. And click Next

- Type the Directory Services Restore Mode(DRSM) password and click Next

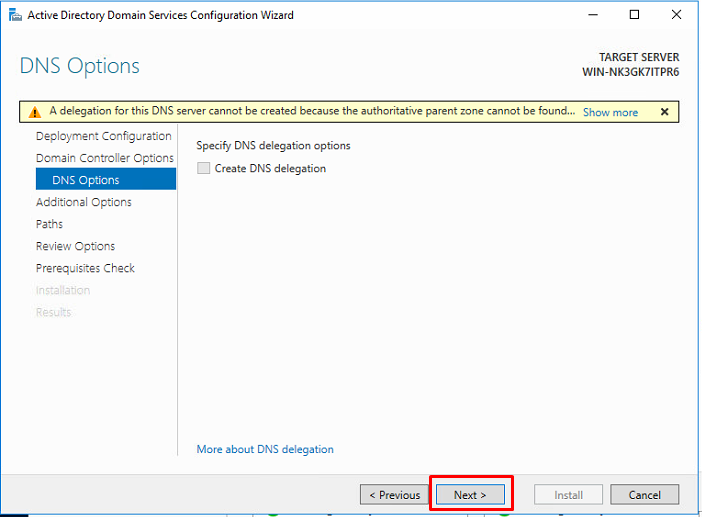
- Ignore the notification alert and click Next
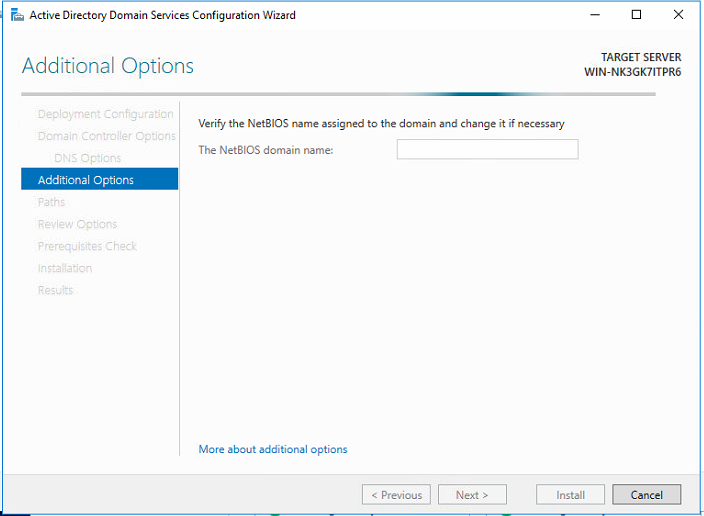
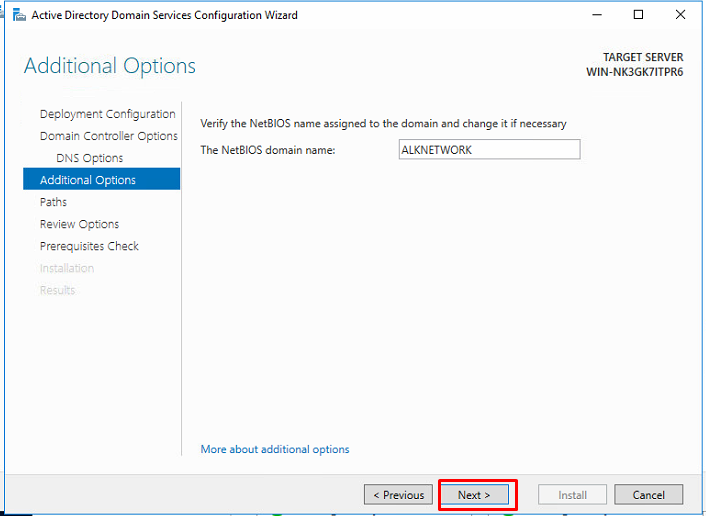
- Now, netBIOS will verify assigned name automatically. You are also able to change it. Once done, click Next
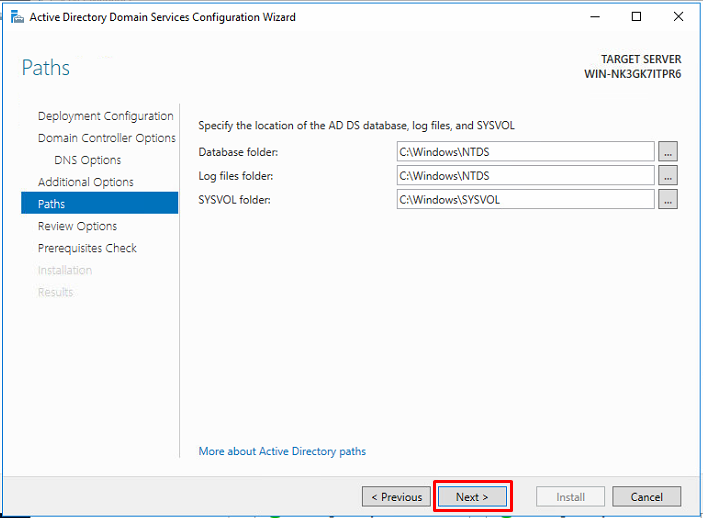
- By default, database , log files, and sysvol folder will located in C:\Windows. Click Next
- This part is review for current selection. Click Next

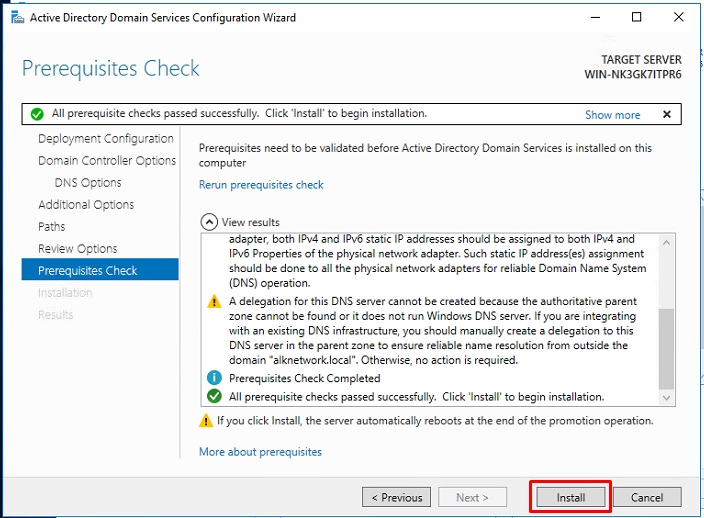
- Ignore the notification alert Click Install button. Once finished, your profile will automatically Signed Out / restart.
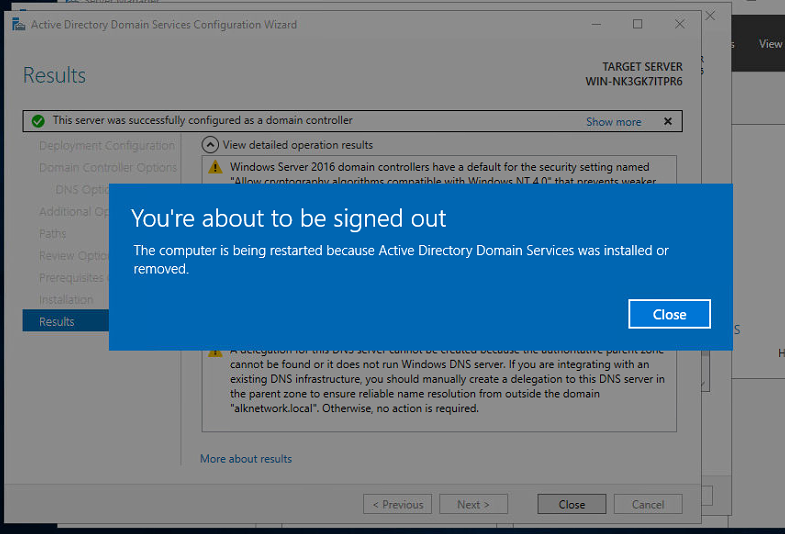
 Now your Domain server is ready
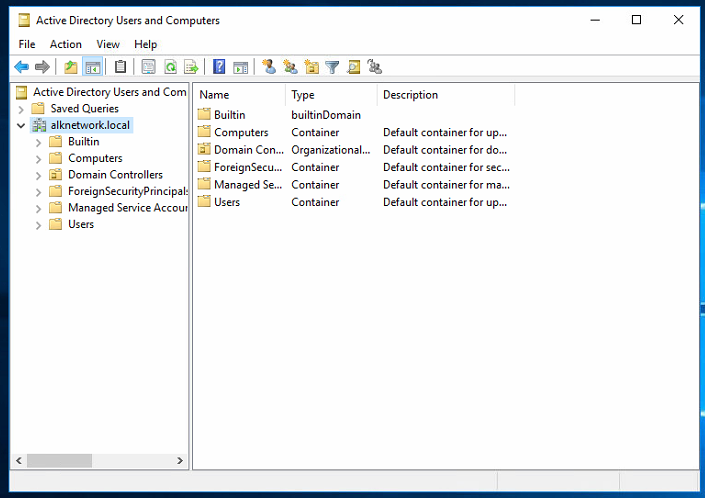
![]()
