 ALKNETWORK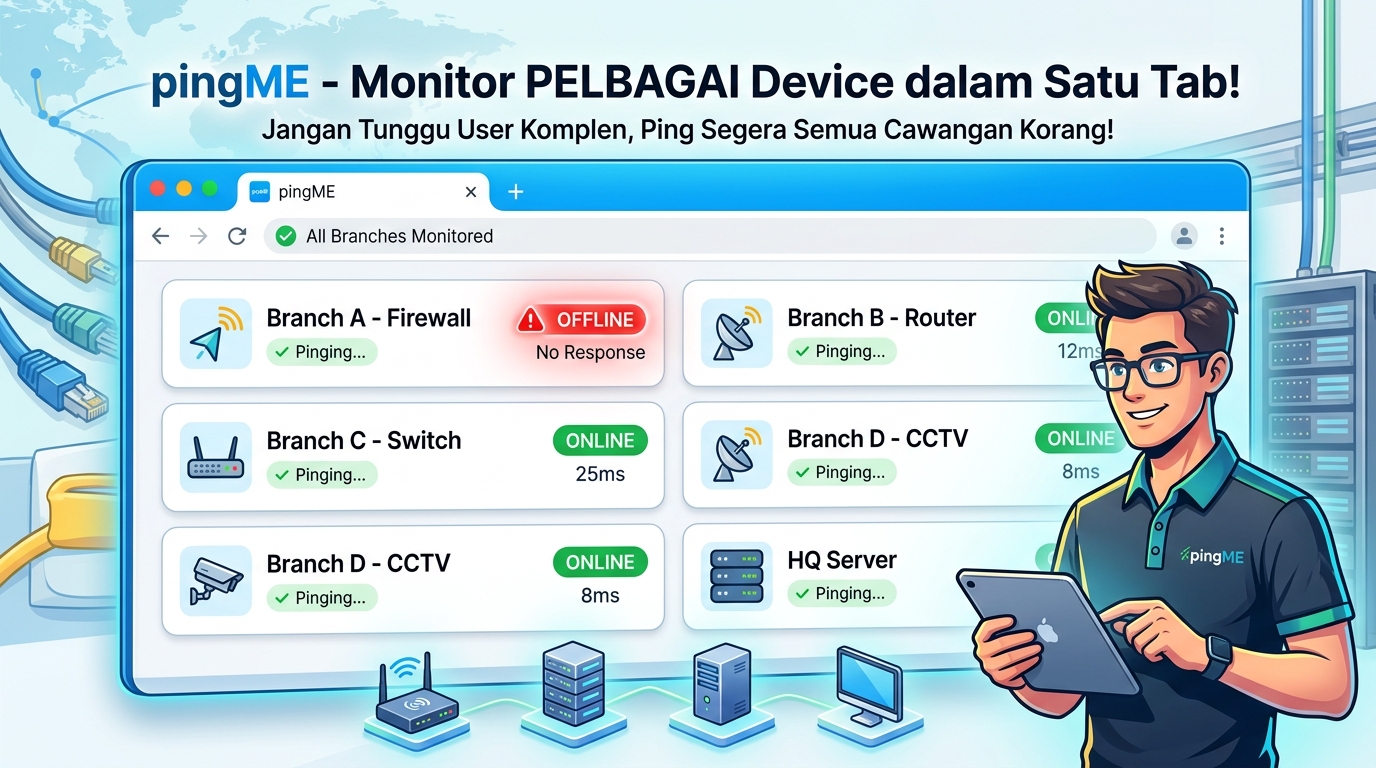
Okay So What Is PingMe Actually?
PingMe ni dashboard monitoring rangkaian yang dibina guna PHP — simple tapi power gila. Basically dia auto-ping semua device yang korang senaraikan (router, firewall, server, switch, whatever la yang ada IP or hostname), then terus tunjuk status Online atau Offline real-time, straight from browser je. Zero drama.
Tak payah install software berat-berat. Tak payah subscribe apa-apa. Just PHP + sikit setup, then korang dah ada monitoring dashboard sendiri. Slay.
📥 Download PingMe kat sini: Google Drive
📥 Download PingMe kat sini: Google Drive
📥 Download PingMe kat sini: Google Drive
Ciri-Ciri Yang Buat Dia Hits Different
- Live status monitoring — auto-refresh every few seconds (boleh set ikut suka hati), so korang instantly tahu device mana yang "ghosting" korang.
- Group by category — Firewall, Server, Switch, apa-apa pun boleh, siap dengan icon sendiri-sendiri supaya senang scan dengan mata je.
- DNS / Hostname check — untuk device yang guna dynamic DNS (contoh FortiDDNS), confirm hostname tu resolve betul-betul, tak main-main.
- Stats ringkas — total device, berapa online, berapa offline, dan overall uptime %. Numbers don't lie.
- Setup wizard sendiri — ni part yang paling slay sebab PingMe boleh jadi template untuk semua orang guna. User baru just bukak browser, isi form (IP, lokasi, nama group), klik save — tak payah sentuh code pun. Literally no-code vibes.
- Responsive — boleh check dari laptop ke dari phone pun boleh, on the go pun okay.
Behind the scenes, PingMe guna teknik ping selari (parallel ping) supaya walaupun device banyak gila, dashboard tak lag atau freeze. Smooth je.
Kenapa PHP + XAMPP, Bestie?
PingMe sengaja guna PHP sebab:
- Senang gila nak deploy — tak payah server power lebih-lebih, boleh jalan atas mana-mana hosting yang support PHP, atau server office korang sendiri pun boleh.
- Ringan — takde database pun okay. Semua setting simpan dalam satu fail
config.phpje, that's it. - Senang customize — kalau korang tahu PHP basic, boleh ubah suai ikut vibe korang sendiri.
Untuk korang yang nak try dekat laptop sendiri dulu before deploy real server, cara paling chill adalah guna XAMPP — satu package yang dah bundle Apache, PHP, MySQL sekali, install dalam beberapa minit je settle.
Step-By-Step Pasang PingMe Guna XAMPP (Senang Je Trust)
Step 1: Download & Install XAMPP
- Pergi apachefriends.org then download XAMPP ikut OS korang (Windows/Mac/Linux).
- Run installer, next-next-next je ikut default settings — dah cukup power untuk basic usage.
- Lepas siap install, bukak XAMPP Control Panel.
Step 2: Start Apache
Dalam Control Panel tu, cari row Apache, klik Start. Kalau dah jadi hijau, congrats — web server korang dah jalan kat localhost. Easy peasy.
FYI: PingMe tak perlukan MySQL langsung, so tak payah start module tu, save resource je.
Step 3: Letak Fail PingMe Dalam htdocs
- Cari folder XAMPP korang — usually:
- Windows:
C:\xampp\htdocs - Mac:
/Applications/XAMPP/htdocs - Linux:
/opt/lampp/htdocs
- Windows:
- Dalam
htdocs, buat folder baru, name diapingmeke apa-apa je. - Extract
pingme.zip(download kat link ni kalau belum download lagi) masuk dalam folder tu.
Struktur akhir kena nampak macam ni:
htdocs/
└── pingme/
    ├── index.php
    └── setup.php
Step 4: Bukak Dalam Browser
Pergi browser, taip:
http://localhost/pingme/Sebab config.php belum exist lagi, system auto-redirect korang ke page Setup. That's the plan.
Step 5: Spill The Details — Isi Info Device Korang
Kat setup page tu:
- Isi Nama Site (contoh: "Monitoring Cawangan Aku").
- Set timezone dengan auto-refresh interval (dalam saat).
- Klik Tambah Group untuk buat kategori (contoh: Firewall, Server, whatever fits).
- Setiap group, klik Tambah Device, isi IP/hostname dengan lokasi/label device tu.
- Kalau ada device guna dynamic DNS, boleh on kan bahagian DNS / Hostname Resolution and list kan hostname yang nak di-resolve.
- Klik Simpan & Mula Monitor.
System auto-generate config.php, terus bawa korang ke dashboard yang dah live. No cap, that simple.
Step 6: Tengok Dashboard Live Action
Dashboard start ping semua device dalam list, then tunjuk status:
- 🟢 Online — device tu okay, still alive
- 🔴 Offline — device tu MIA (dot dia blink supaya korang confirm perasan)
Auto-refresh ikut interval yang korang set, atau boleh klik refresh manual bila-bila korang rasa nak check.
Nak Ubah Balik List Device?
Chill, senang je — klik icon gear (⚙) kat header dashboard, terus balik ke setup page untuk update device atau tambah group baru. Kalau nak edit laju-laju, config.php pun boleh bukak terus — dia cuma array PHP yang senang baca je, tak scary.
Things To Note Before Deploy Real Server
- Fungsi ping PingMe guna command sistem (
ping), so pastikan server korang allow PHP run shell command. Ada shared hosting yang block benda ni sebab security reason — kalau kena situation macam ni, lagi sesuai jalankan PingMe atas VPS atau server dalaman yang korang kawal sendiri. - Pastikan folder tempat
config.phptu writable oleh PHP, sebab setup wizard kena create/update fail tu.
Okay That's A Wrap
PingMe start sebagai satu sistem monitoring dalaman yang simple, dan sekarang dah jadi template yang sesiapa pun boleh guna — tak kira korang handle satu cawangan atau puluhan lokasi sekali gus. Dengan setup wizard, zero coding skill needed untuk start monitor network korang sendiri.
Kalau korang baru nak try, XAMPP is literally the fastest way untuk test kat laptop sendiri dulu before push ke real server. Happy trying, gais!
📥 Download PingMe kat sini: Google Drive
📥 Download PingMe kat sini: Google Drive
📥 Download PingMe kat sini: Google Drive